
- View
The peanut butter and jelly sandwich is one of those rare foods that feels both nostalgic and timeless. It’s a staple of American childhood, tucked into lunchboxes and remembered with fondness. Yet it still holds its own as a quick, satisfying bite for all ages.
What makes it so enduring is its simplicity. Just three ingredients, no cooking required, and yet the result is a sandwich that’s sweet, salty, creamy, and comforting. It’s a dish that doesn’t try too hard, and that’s exactly why it works.
Want to dive deeper into American Cuisine? Don’t miss our post on 65 Traditional American Foods to Try
What Is Peanut Butter and Jelly Sandwich?
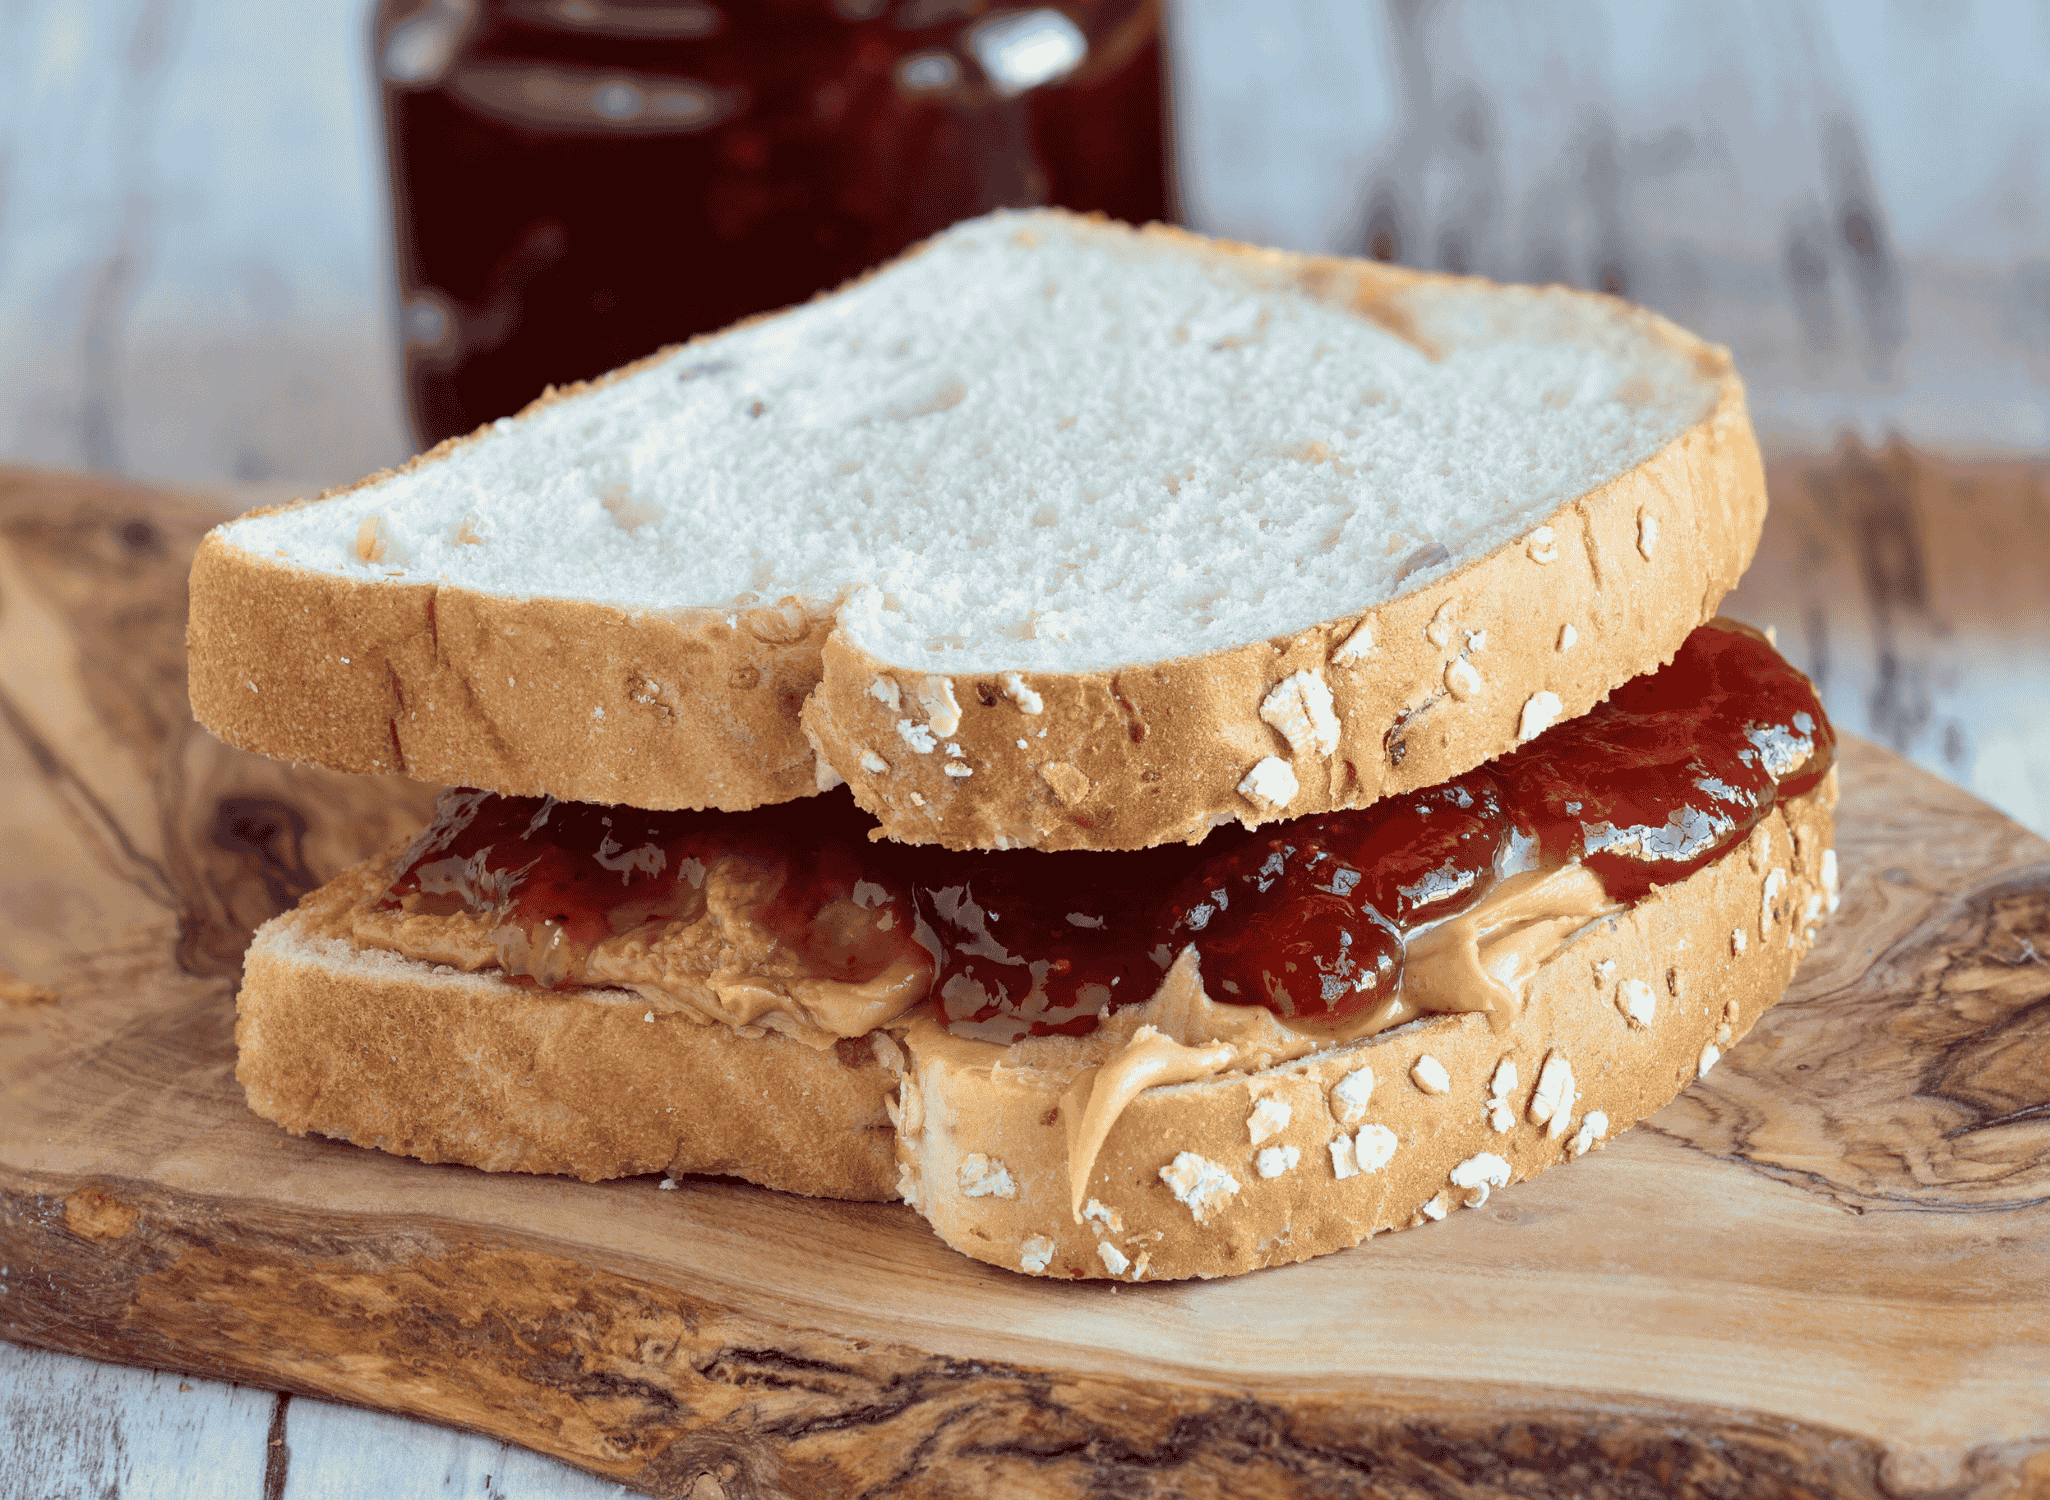
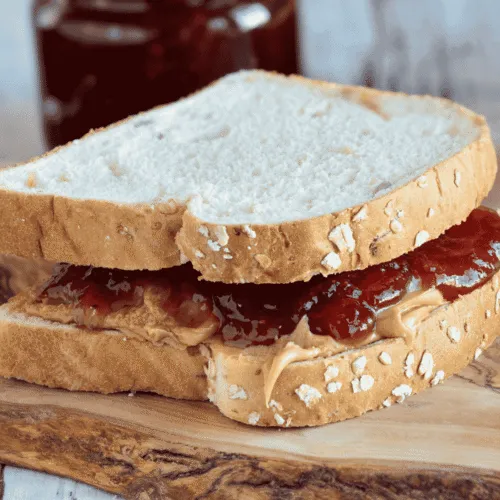
This sandwich is a pairing of peanut butter and fruit jelly, spread between two slices of bread. The peanut butter brings richness and protein, while the jelly adds sweetness and a bit of tang. Together, they create a balance that’s hard to resist.
The sandwich is typically served at room temperature, making it ideal for packed lunches or quick snacks. While white bread is traditional, variations with whole grain or sourdough are common. Some prefer smooth peanut butter, others go for crunchy. It’s endlessly customisable.
Ingredients and Taste
The classic version uses white sandwich bread, creamy peanut butter, and grape or strawberry jelly. The peanut butter offers a nutty, slightly salty base, while the jelly brings a burst of fruity sweetness. The bread holds it all together with a soft, neutral texture.
The taste is layered but familiar. The richness of the peanuts contrasts with the brightness of the fruit, and the softness of the bread gives way to the stickiness of the filling. It’s a sandwich that’s both indulgent and comforting, with a flavour that lingers.
A Taste of History
The peanut butter and jelly sandwich has roots in early 20th century America. Peanut butter was first introduced to the public at the 1904 St. Louis World’s Fair, while commercial jelly production was gaining popularity around the same time.
The first known recipe combining the two appeared in a 1901 issue of the Boston Cooking School Magazine, suggesting peanut paste and currant or crab apple jelly between thin slices of bread. It was considered novel at the time, even a bit refined.
Its popularity surged during World War II, when both peanut butter and jelly were included in U.S. military rations. Soldiers returned home with a taste for the combination, and it quickly became a household staple.
By the 1950s, with the rise of sliced bread and mass produced spreads, the sandwich became a fixture in American homes. It was affordable, easy to make, and appealing to children. Over time, it became more than just a snack. It became a cultural icon.
Today, the peanut butter and jelly sandwich remains a symbol of simplicity and comfort. Whether eaten on the go or savoured slowly, it’s a reminder that sometimes the most enduring foods are the ones that never needed improving.
How to make Traditional Peanut Butter and Jelly Sandwich
This sandwich is a cornerstone of American comfort food. It’s quick to prepare, endlessly customisable, and relies on the contrast between nutty richness and fruity sweetness. Whether for breakfast, lunch, or a midday snack, it’s a classic that never feels out of place. See the recipe card at the bottom for printable directions
Ingredients
- 8 slices soft white sandwich bread
- 8 tablespoons smooth or crunchy peanut butter
- 8 teaspoons grape or strawberry jelly (or jam)
- Optional: softened butter for toasting
Cooking Instructions
Step 1: Prepare the Bread
Lay out all 8 slices of bread on a clean surface. If you prefer a toasted version, lightly butter one side of each slice and toast them in a pan until golden. For a traditional soft sandwich, skip the butter and toasting.
Step 2: Spread the Peanut Butter
Using a butter knife or small spatula, spread 1 tablespoon of peanut butter evenly over one side of 4 slices. Spread gently to avoid tearing the bread, especially if using crunchy peanut butter.
Step 3: Spread the Jelly
On the remaining 4 slices, spread 2 teaspoons of jelly or jam. Grape and strawberry are traditional, but raspberry or blackberry also work well. Spread to the edges for even flavour in every bite.
Step 4: Assemble the Sandwiches
Place the peanut butter covered slices on top of the jelly covered ones, spread sides facing each other. Press gently to seal the layers without squashing the filling.
Step 5: Trim if Desired
For a neater presentation, trim the crusts using a sharp knife. This step is optional but often preferred for serving children or for a more uniform look.
Step 6: Slice and Serve
Cut each sandwich in half diagonally or into quarters, depending on preference. Arrange on a plate and serve immediately, or wrap tightly for later.
Step 7: For Serving
Pair with a glass of cold milk, apple slices, or crisps for a classic American lunchbox feel. If packing for later, wrap in wax paper or foil to keep the bread soft.
Cooking Tips for Perfect Peanut Butter and Jelly Sandwiches
- Use room temperature peanut butter for easier spreading
- Avoid overfilling to prevent the sandwich from becoming soggy
- For a firmer bite, chill the sandwich for 10 minutes before slicing
- Toasted bread adds texture but soft bread is more traditional
- Use a serrated knife for cleaner cuts, especially with soft bread
Peanut Butter and Jelly Sandwich (Sweet Nutty Sandwich)
Ingredients
- 8 slices soft white sandwich bread
- 8 tablespoons smooth or crunchy peanut butter
- 8 teaspoons grape or strawberry jelly or jam
- Optional: softened butter for toasting
Instructions
- Lay out all 8 slices of bread on a clean surface. If you prefer a toasted version, lightly butter one side of each slice and toast them in a pan until golden. For a traditional soft sandwich, skip the butter and toasting.
- Using a butter knife or small spatula, spread 1 tablespoon of peanut butter evenly over one side of 4 slices. Spread gently to avoid tearing the bread, especially if using crunchy peanut butter.
- On the remaining 4 slices, spread 2 teaspoons of jelly or jam. Grape and strawberry are traditional, but raspberry or blackberry also work well. Spread to the edges for even flavour in every bite.
- Place the peanut butter covered slices on top of the jelly covered ones, spread sides facing each other. Press gently to seal the layers without squashing the filling.
- For a neater presentation, trim the crusts using a sharp knife. This step is optional but often preferred for serving children or for a more uniform look.
- Cut each sandwich in half diagonally or into quarters, depending on preference. Arrange on a plate and serve immediately, or wrap tightly for later.
- Pair with a glass of cold milk, apple slices, or crisps for a classic American lunchbox feel. If packing for later, wrap in wax paper or foil to keep the bread soft.


Leave a Review